

 English
 Deutsch
 Español
 русский

Home · News · Industry News · How to Punch Down a Keystone Jack: Step-by-Step Termination Guide for Clean Links
Industry News
How to Punch Down a Keystone Jack: Step-by-Step Termination Guide for Clean Links
2026-08-28Content
- 1 Understanding the Anatomy of a Punch-Down Keystone Jack
- 2 Tools and Materials You Will Need
- 3 T568A vs. T568B: Which Wiring Standard Should You Use?
- 4 How to Punch Down a Keystone Jack, Step by Step
- 5 Five Common Keystone Termination Mistakes
- 6 Punch-Down vs. Toolless Keystone Jacks: Which One to Pick
- 7 Frequently Asked Questions
A keystone jack that isn't punched down correctly is one of the most common causes of intermittent link errors, slow transfers, and unexpected disconnects. The good news? Punching down a keystone jack is a simple, repeatable process: strip the cable jacket, arrange the pairs, seat each conductor into a color-coded slot, and press down with a 110 punch-down tool. Keep every pair twisted as long as possible and follow the same standard on both ends, and your termination will pass inspection and serve reliably for years.
Below, we explain the parts of a keystone jack, the tools that make the job clean, the difference between T568A and T568B, and the exact technique installers use for consistent results on Cat5e, Cat6, and Cat6A runs.
Understanding the Anatomy of a Punch-Down Keystone Jack
A punch-down keystone jack is a compact module that clicks into a faceplate, patch panel, or surface-mount box. The front face is a standard RJ45 socket. The rear face holds two rows of four insulation-displacement contact (IDC) slots. When you press a solid copper conductor into a slot, the metal fork inside slices through the insulation and grips the conductor, creating a gas-tight connection without solder.
The plastic housing protects the IDC blades and guides the cable into a controlled bend radius. A small PCB inside the jack routes each IDC slot to the correct RJ45 pin. That is why the wire order on the rear does not have to match the front pinout: the board does the crossing for you.
Tools and Materials You Will Need
You do not need a large toolbox, but the tool quality directly affects termination reliability.
- Keystone jack with a printed color chart; choose the category that matches the cable (Cat5e, Cat6, or Cat6A).
- 110 punch-down tool with a cutting blade; an impact-style tool is easier for beginners because it trims the wire automatically.
- Cable stripper or a sharp knife to remove the jacket without nicking conductors.
- Flush cutters as a backup when the punch-down blade does not cut completely.
- Cable tester (optional but recommended) to verify the wiring map and detect split pairs.
Always use solid-conductor cable for punch-down terminations. Stranded patch cable does not seat reliably in IDC slots and is designed for crimped RJ45 plugs instead. For shorter permanent links or budget-friendly jobs, a Cat5e 90-degree modular jack is inexpensive, easy to handle, and fully adequate for runs up to 100 m at Gigabit speed.
Before buying, compare rear-layout styles and label clarity, and browse our keystone jack options to find the model that matches your cable type and installation depth.
T568A vs. T568B: Which Wiring Standard Should You Use?
Both T568A and T568B are ANSI/TIA-568 compliant wiring schemes. T568B is the default in most commercial and residential networks; T568A appears more often in government projects and some European markets. Performance is identical if you stay consistent across the whole cable run.
The rear label of a punch-down keystone jack usually shows two color columns marked A and B. Choose the column that matches your project standard and repeat it at the wall plate and the patch panel.
- T568B: 72%
- T568A: 21%
- Mixed or undocumented: 7%
Wiring standard distribution in an illustrative field audit of 1,200 inspected keystone terminations.
| Pin | T568A | T568B |
|---|---|---|
| 1 | Pair 3 – white/green | Pair 2 – white/orange |
| 2 | Pair 3 – green | Pair 2 – orange |
| 3 | Pair 2 – white/orange | Pair 3 – white/green |
| 4 | Pair 1 – blue | Pair 1 – blue |
| 5 | Pair 1 – white/blue | Pair 1 – white/blue |
| 6 | Pair 2 – orange | Pair 3 – green |
| 7 | Pair 4 – white/brown | Pair 4 – white/brown |
| 8 | Pair 4 – brown | Pair 4 – brown |
How to Punch Down a Keystone Jack, Step by Step
This walk-through uses a standard punch-down keystone jack, such as the Cat6 unshielded 180 modular jack, which offers a wide rear cavity and a clearly printed B-side color label.
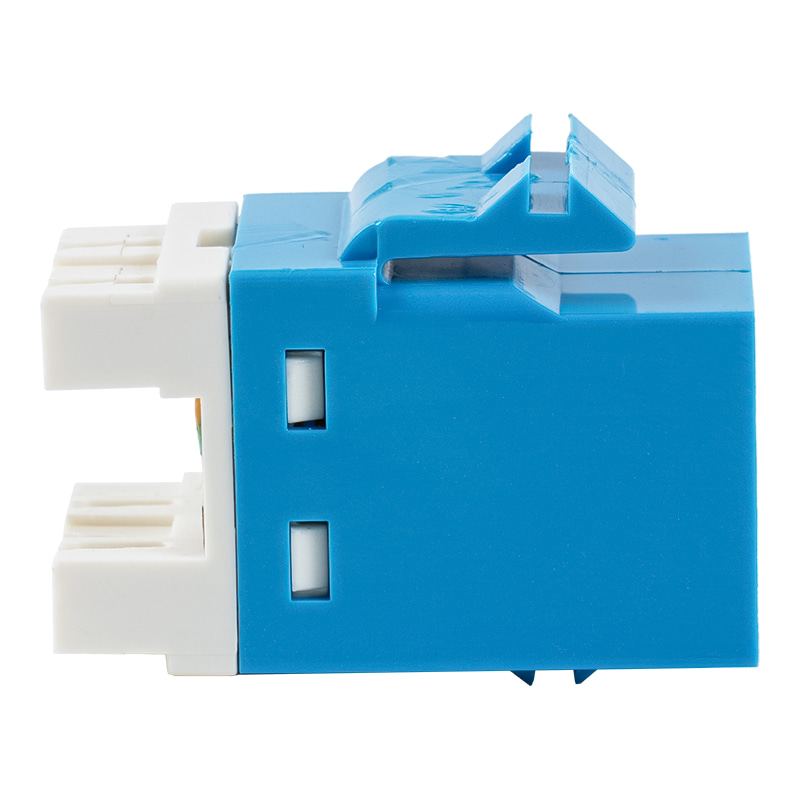 Cat6 Unshielded 180° Modular Jack SM-2027H8C6 Supplier, Factory - Ningbo BetterbNingbo Betterbell Telecommunication is a China Cat6 Unshielded 180° Modular Jack SM-2027H8C6 supplier and factory, offering wholesale sup...View Product →
- Strip the cable jacket. Remove 25–40 mm (1–1.5 inches) of outer jacket with a cable stripper. Score lightly so the insulation pulls off and the conductor pairs stay intact.
- Untwist the pairs. Untwist each pair just enough to place the conductors into their slots. The less you untwist, the lower the crosstalk contribution.
- Align the conductors with the color chart. Hold the jack with the rear facing you and match each conductor to the A or B column. Do not rely on memory for the order.
- Press each wire into its slot. Use your fingers or a flat tool to route each conductor into the correct channel, keeping the conductor in the channel and clear of neighboring slots.
- Punch down. Place the 110 blade over the slot so the cutting edge faces the outside of the jack, then press firmly until you hear a click. The blade seats the conductor into the IDC fork and trims the excess wire.
- Check the result. Pull gently on each conductor to confirm it is locked. Trim any loose whiskers with flush cutters and snap the dust cover or strain-relief clip into place.
- Test the link. Install the jack into a wall plate or patch panel and verify continuity with a tester, or at minimum confirm that the device links at the expected speed.
If you are terminating hundreds of outlets, standardize on a 180-degree jack so the cable enters from the rear and the bend radius stays consistent inside the back box.
Five Common Keystone Termination Mistakes
Most failed terminations fall into five categories. The chart below shows how often each problem appeared when 640 failed keystone jacks were analyzed during structured cabling audits.
Split pairs are the most damaging. The link is wired in the correct pin order, but one pair is split around conductors of another pair, so the signal path is correct while the crosstalk margin collapses. Follow the printed color chart, not the order of colors on the cable jacket.
Reversed conductors within a pair fail the wire-map test and cause polarity issues. Check that pins 1-2, 3-6, 4-5, and 7-8 are matched as pairs.
Over-stripped jackets expose too much conductor and defeat the strain-relief and bend-radius design. Keep the jacket boundary close to the rear of the jack.
Partial seating happens when the punch-down tool is pressed with insufficient force. The conductor touches the blade but does not fully pierce the insulation. Always press firmly and listen for the click.
Wrong pinout occurs when one end is terminated T568B and the other T568A. The link may still connect but will fail at higher frequencies. Terminate both ends identically.
Punch-Down vs. Toolless Keystone Jacks: Which One to Pick
Toolless keystone jacks use a snap-down cap or latch instead of an impact blade. They eliminate the punch-down tool and are convenient for field retrofits, but punch-down jacks still dominate structured cabling projects because they provide a more controlled contact force and a lower profile.
If you work mostly on Cat6A runs, a Cat6A 180-degree modular jack keeps contact geometry tight and pairs well with the same faceplates and patch panels used for Cat6.
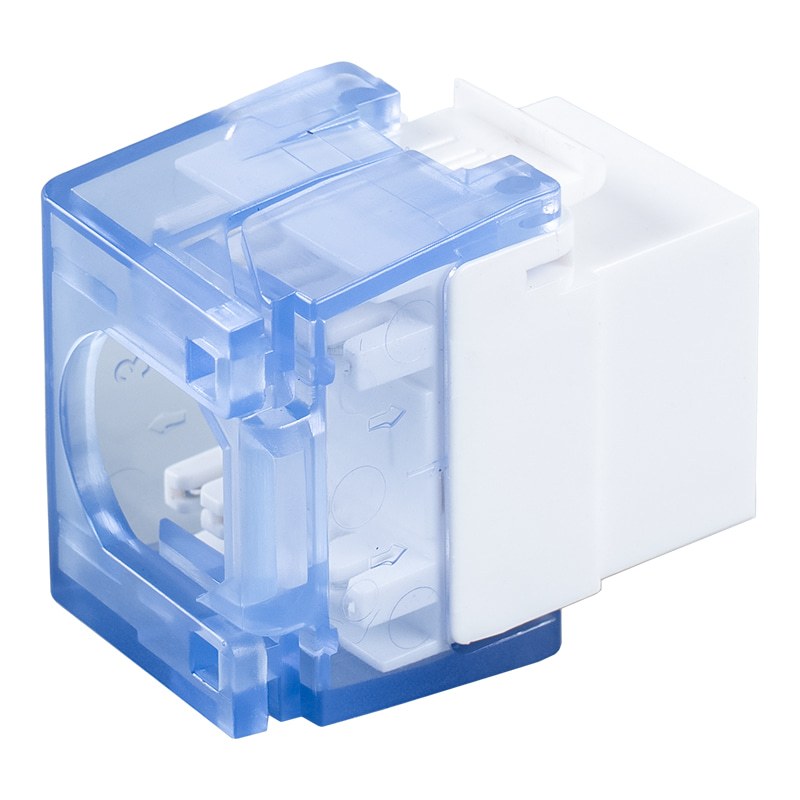 C6A Unshielded 180° Modular Jack SM-2091D8C6A Supplier, Factory - Ningbo BetterbNingbo Betterbell Telecommunication is a China C6A Unshielded 180° Modular Jack SM-2091D8C6A supplier and factory, offering wholesale sup...View Product →
| Factor | Punch-down keystone | Toolless keystone |
|---|---|---|
| Tool required | 110 / 66 impact tool | None; cap closes by hand |
| Typical time per end | 60–120 seconds | 30–60 seconds |
| Rework behavior | Lift and re-punch; blade may dull | Open cap and re-seat conductor |
| Contact reliability | Excellent when punched fully | Good when cap locks completely |
| Best suited for | High-volume structured cabling | Quick repairs, tight spaces, DIY |
For most IT and low-voltage contractors, punch-down remains the faster and more consistent method on new installations. Keep a toolless jack in your bag for retrofits where the back box is shallow or the cable is already too short.
Frequently Asked Questions
Do I need to use T568A or T568B?
Use whichever standard your project specifies. T568B is the most common in enterprise networks. Whatever you choose, keep the same order at both ends of every run so the link is straight-through.
Can I punch down a keystone jack without a punch-down tool?
You can press the conductors into the IDC slots with a small screwdriver, but consistent depth is hard to control and the blade can pierce the conductor. A basic 110 impact tool costs little and makes re-termination much less frequent.
Why does the wire order on the jack look different from the RJ45 pinout?
The PCB inside the jack translates the rear IDC layout to the front RJ45 pins. Follow the color chart on the rear label and the front socket will be wired correctly.
What should I do if I punch the wrong wire into a slot?
Pull the conductor out with tweezers and re-punch it into the correct slot. Doing this once or twice is acceptable, but the IDC blade loses sharpness with each attempt. Replace the jack if the link fails or if the conductor no longer holds firmly.
How long can the untwisted section be?
Keep the untwisted part under 13 mm (0.5 inch). Longer untwisted sections increase near-end crosstalk and can drop the channel below its category rating even when the wire map is correct.
Punching down a keystone jack is one of the most repeatable tasks in network cabling, and the results are easy to verify: a clean wire map, an audible click, and a stable link speed. Use a good impact tool, follow the label on the jack, and keep pair twists short.
Choosing the right jack matters just as much as the technique. Matching the category, shield type, and mounting style to the cable saves hours of rework in high-density racks. If you need samples, bulk pricing, or help selecting modular jacks for a project, contact our team and we will help you specify the right parts.
Contact Us
Your email address will not be published. Required field are marked*


-
 No. 588, Xiaolin Avenue, Xiaolin Town, Cixi City, Zhejiang Province
-
 [email protected]
-
 +86-574-63507962
-
 +86-15988643730
Copyright Ningbo Betterbell Telecommunication Equipment Co., Ltd. All rights reserved. Structured Cabling Solutions Manufacturer Network Cabling Products Supplier
