

 English
 Deutsch
 Español
 русский

Home · News · Industry News · How to make face plates fit flush against the wall?
Industry News
How to make face plates fit flush against the wall?
2026-07-24Content
- 1 Why Face Plates Don't Sit Flush in the First Place
- 2 Match the Wall Standard Before You Buy a Plate
- 3 Step-by-Step: Getting a Truly Flush Fit
- 4 Troubleshooting Common Gap Patterns
- 5 Product Series
- 6 Choosing the Right Box Depth for New Construction
- 7 When a Gap Means the Plate Should Be Replaced
- 8 Frequently Asked Questions
Direct Answer
A face plate sits flush against the wall when three things line up: the panel matches the mounting box standard (86-type, 120-type, or 80-type), the box is recessed or surface-mounted at the correct depth, and the four corner screws are tightened evenly rather than in one corner first. Most gaps come from a mismatched box size or an uneven wall surface, not a defective plate.
Why Face Plates Don't Sit Flush in the First Place
A wobbling or gapped face plate is almost never a random defect. In field reports from installers, the same handful of causes repeat again and again:
- Wrong box standard. An 86-type plate forced onto a 120-type box (or the reverse) leaves visible gaps on two sides because the screw spacing does not line up.
- Uneven plaster or drywall. A wall that is not perfectly flat pushes one edge of the plate outward while the opposite edge sits tight.
- Overstuffed cable inside the box. Too much slack behind the plate pushes it forward like a spring, especially with bundled Keystone modules.
- Cross-threaded or over-tightened screws. A screw driven in at an angle warps the thin ABS or metal shell before it ever reaches the wall.
- Box mounted too deep or too shallow. If the bottom box sits more than 2-3 mm below the finished wall surface, the plate has nothing solid to rest against.
Match the Wall Standard Before You Buy a Plate
Flush fitting starts before installation, at the purchasing stage. The three most common regional wall box standards are not interchangeable, and mixing them is the single biggest cause of poor fit reported by contractors sourcing from a face plate factory.
| Standard | Typical Size | Common Region | Fit Notes |
| 86-type | 86mm x 86mm | China, most of Asia | Screw centers spaced 60mm apart; most common residential and office standard |
| 120-type | 120mm x 74mm | Some commercial fit-outs | Wider footprint, needs a matching bottom box or it will rock on the shorter side |
| 80-type | 80mm x 80mm | Older buildings, retrofits | Slightly smaller cutout; verify before replacing an existing plate |
If a project mixes several building ages, it is worth working with a supplier that stocks both a mounting box factory line and a bottom box factory line side by side, so 86-type and 120-type hardware can be matched to the correct plate without guesswork.
Step-by-Step: Getting a Truly Flush Fit
Check the box depth first
The front lip of the bottom box should sit level with, or no more than 1mm behind, the finished wall surface. If plaster or tile was added after the box was set, the recess is now too deep and the plate will not reach it.
Trim and dress the cable slack
Fold excess cable into a loose coil at the back of the box rather than pressing it flat behind the modules. A tightly packed loop behind a Keystone Jack pushes the whole plate outward at the center.
Seat the plate by hand before screwing
Press all four corners down at once. If one corner lifts noticeably higher than the others, the box is either warped or not mounted level, and the box should be re-shimmed before proceeding.
Tighten screws in a cross pattern
Turn each screw two to three turns, then move diagonally to the opposite screw, similar to tightening a wheel. This pulls the plate down evenly instead of tilting it toward whichever screw goes in first.
Stop at snug, not maximum torque
ABS face plates typically need only 0.3-0.5 N.m of torque. Over-tightening bows the center of the plate outward, creating the exact gap the installer is trying to remove.
A useful field test: after installation, run a fingernail around all four edges of the plate. If it catches on any edge, that side is proud of the wall by roughly 1mm or more and the corresponding screw needs another half turn, or the box needs adjusting.
Troubleshooting Common Gap Patterns
| Symptom | Likely Cause and Fix |
| Gap on one side only | Box is not mounted level, or wall surface is uneven on that side; use a small shim behind the box before final fastening |
| Center bulges outward | Too much cable slack packed behind the modules; remove and re-coil the cable more loosely inside the box |
| All four corners loose | Screw holes stripped from over-tightening in the past; replace with a fresh plate rather than forcing longer screws |
| Plate sits too far forward overall | Box was recessed too shallow before plastering; add a box extension ring or select a deeper box on the next order |
| Cracks appear near the screw posts | Screws torqued past the rated limit; switch to a hand screwdriver instead of a power driver for the final turn |
Product Series
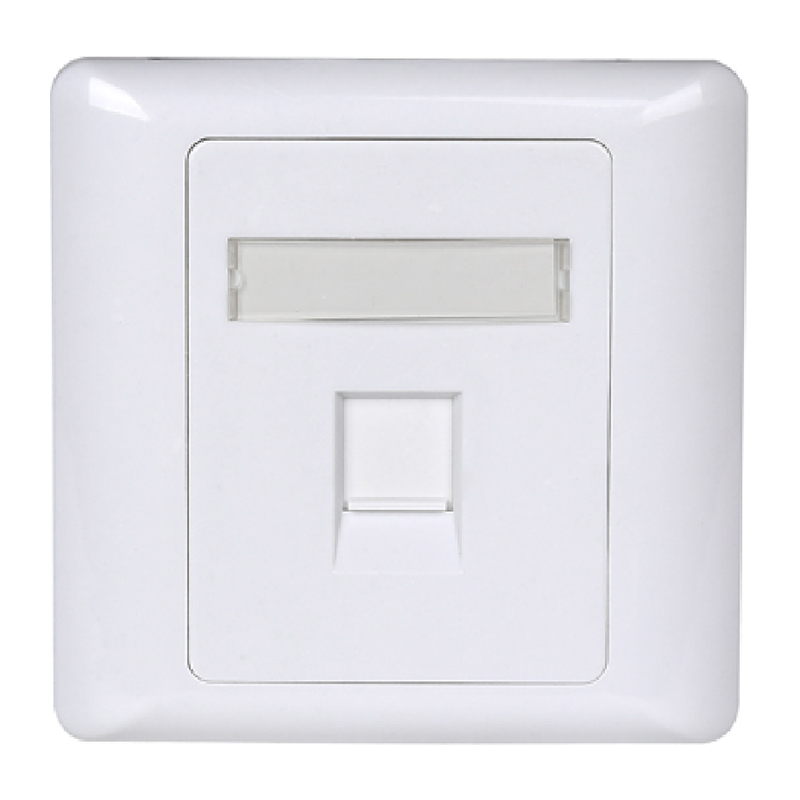
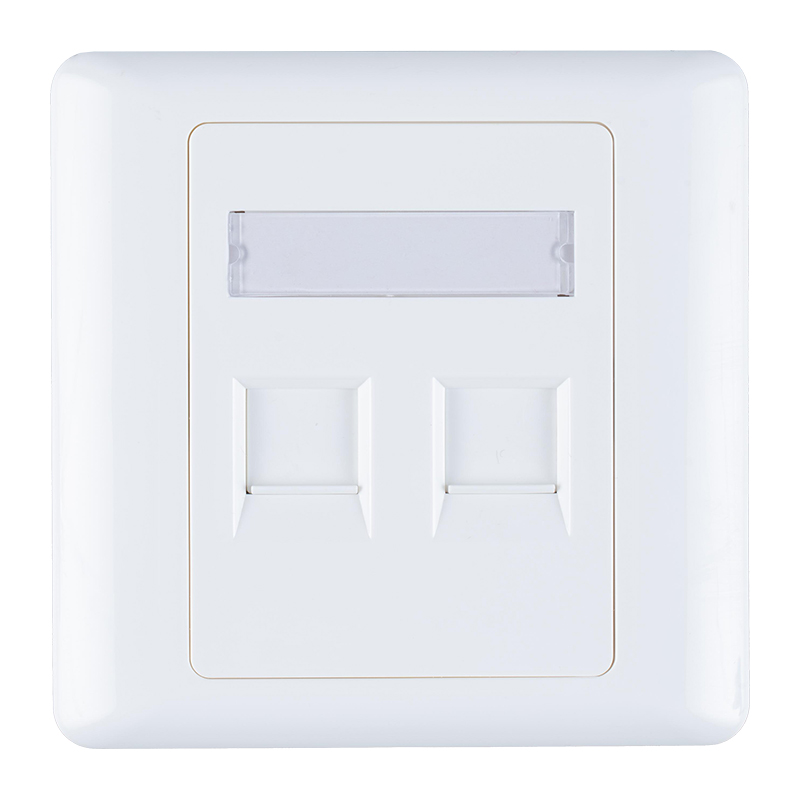
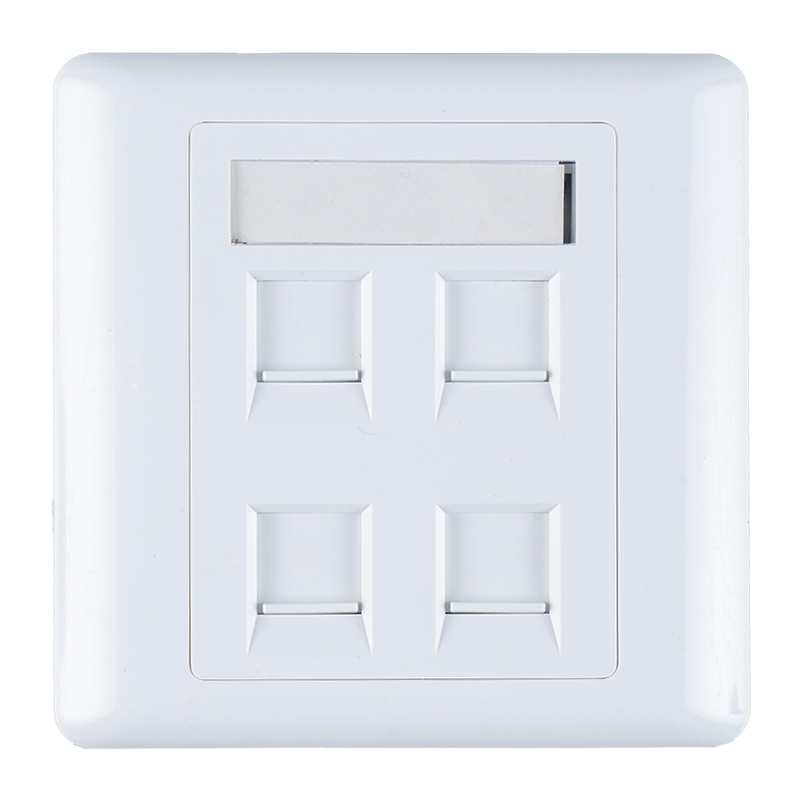
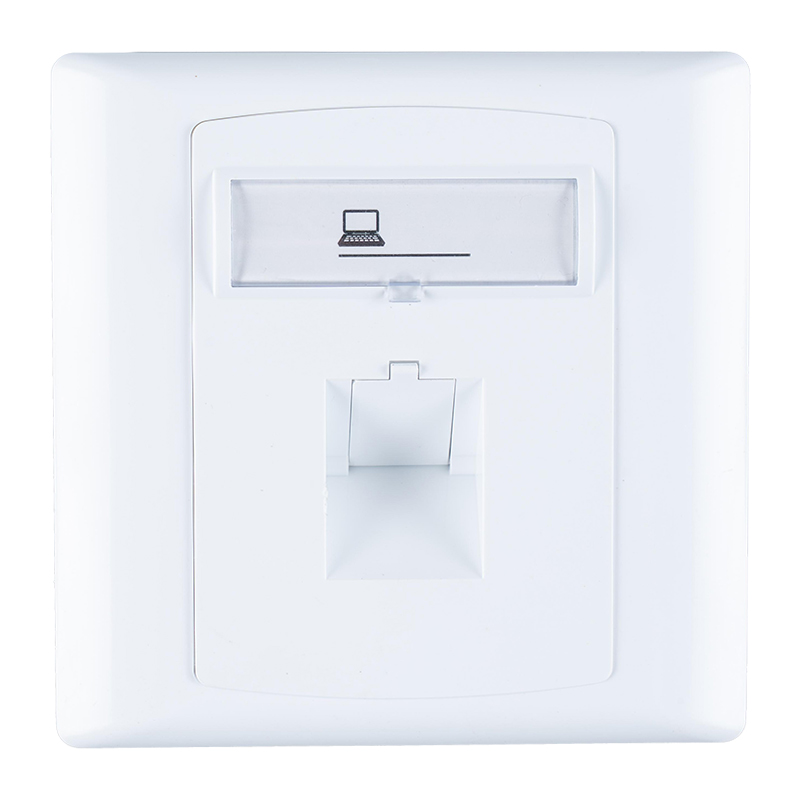
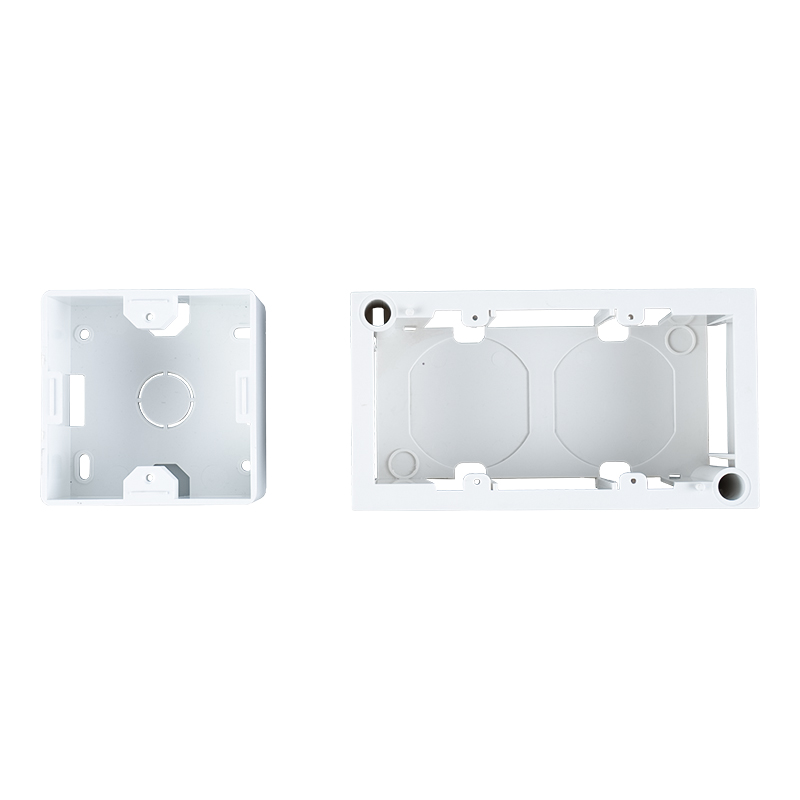
A properly matched plate and box pairing is the fastest way to guarantee a flush result. The panels and boxes below are all built to the 86-type and 120-type wall standard and are sourced directly from an in-house face plate factory and mounting box factory, so screw spacing and recess depth are consistent across the whole series.
Choosing the Right Box Depth for New Construction
On new builds, the fit problem can be avoided entirely by selecting the correct box before the wall is closed up. Boxes purchased from a bottom box factory are typically offered in two depth classes:
| Box Depth | Best For | Flush Fit Consideration |
| Shallow (around 35mm) | Single or dual port plates, drywall partitions | Leaves little room for slack cable, so keep loops small to prevent bulging |
| Deep (45mm or more) | Four-port plates, shielded modules, thicker cable bundles | Gives cable room to sit flat, reducing the chance of a bulging center |
Installers pairing plates with a Keystone Jack factory line should also confirm the module snaps fully into the plate opening. A module that sits proud of the plate housing by even 1-2mm will telegraph through as a raised edge once the screws are tightened.
When a Gap Means the Plate Should Be Replaced
Not every gap is an installation error. Replace the plate rather than reinstalling it when any of the following show up:
- Visible warping across the flat face, usually from heat exposure or a manufacturing defect.
- Hairline cracks radiating from any of the four screw posts.
- Screw holes that spin freely even with a new screw, indicating stripped threads.
- A wall standard mismatch that cannot be corrected without swapping the plate for one matching the installed box.
Working with a supplier that also produces patch panel factory and cable management factory lines tends to simplify replacement, since the same 86-type or 120-type screw pattern is used consistently across the plate, patch panel, and cable manager product families.
Frequently Asked Questions
Does the plate material affect how flush it sits?
Yes. ABS plastic plates flex slightly and are more forgiving of small wall irregularities, while metal plates are rigid and will show a gap clearly if the box underneath is not level.
Can shims be used behind a face plate?
A thin shim behind one corner of the box, before the plate is attached, is an accepted fix for a slightly uneven wall. Shimming behind the plate itself, after installation, is not recommended since it stresses the screw posts.
Is a gap the same problem on tile walls as on drywall?
Tile installations more often cause gaps from box depth mismatches, since the tile itself changes the finished wall thickness after the box was originally set, while drywall issues are more commonly related to leveling.
Contact Us
Your email address will not be published. Required field are marked*


-
 No. 588, Xiaolin Avenue, Xiaolin Town, Cixi City, Zhejiang Province
-
 [email protected]
-
 +86-574-63507962
-
 +86-15988643730
Copyright Ningbo Betterbell Telecommunication Equipment Co., Ltd. All rights reserved. Structured Cabling Solutions Manufacturer Network Cabling Products Supplier
